How to Get a Free .edu Address for Student Discounts
EDITOR'S NOTE: This method no longer works for acquiring a .edu email address.

Being a student has a lot of perks, such as a deep markdown on Amazon Prime, discounts on major newspapers and savings at numerous popular retailers. Unfortunately, the money saved won’t come even close to displacing the rapidly increasing cost of education, but there’s an easy way to reap many of the benefits of student status without dropping the big bucks on school.
Many online retailers will verify your student status by requiring you to sign up with a simple .edu email address, which is typically available only to attendees of a college or university. From time to time, however, an .edu website will allow users to register an email address without actually checking their student status. It’s a way for non-students to get many of the benefits of being a student without taking on loan after loan. This is often subject to abrupt change, when an organization learns how it's being exploited.
There are certainly ethical questions about taking advantage of the system, but if you're determined to do it, here’s how to get an .edu email address.
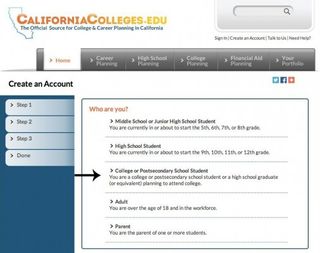
1. Visit the account creation page on the California Colleges website and select that you’re a College or Postsecondary School Student. The California Colleges website is a place for students and potential students to plan their educational path. It allows anyone to sign up for an email account, but you’ll want to select that you’re currently a college student.
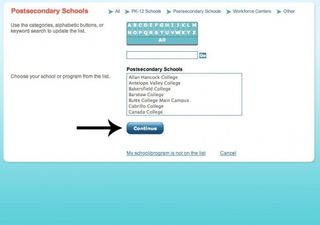
2. Select Find and choose your favorite college from the list. Have you ever dreamed of attending a California college? Here’s your chance to pretend that you’re really there! There are a long list of schools, from universities to community colleges to choose from. Pick your favorite.
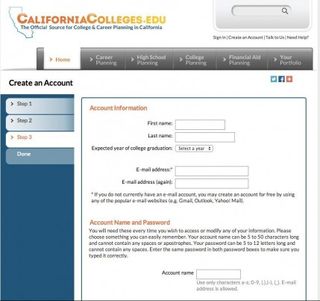
3. Enter in your personal information, and select an account name and password. You certainly can use your real information, but there’s no system in place to check anything. Entering sensitive information, such as your address, is optional. We recommend filling out the bare minimum of the form. Note that your account name will be your new email address.
Stay in the know with Laptop Mag
Get our in-depth reviews, helpful tips, great deals, and the biggest news stories delivered to your inbox.
4. Click to continue once you see the notice that your account has been successfully created. If you’ve filled out the form correctly, you should be redirected to a page that confirms your new account. If you see this page, you now have an .edu email address.
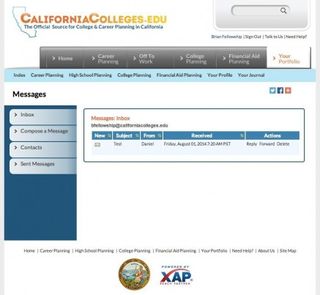
5. Click My Portfolio in the top right corner, followed by Send and Receive Messages to view your new .edu email address. This is where you’ll go when you want to view your messages — which is often required by sites offering student discounts in order to verify that you’re the owner of the account.
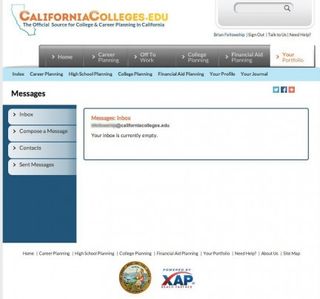
6. Send yourself a test email. It’s good to know that your new email address actually works. Head over to an existing email account and send a message to your new .edu address. Then, return to your new .edu inbox and refresh the page to view your test message.
