How to Navigate Your Way Through Apple Maps
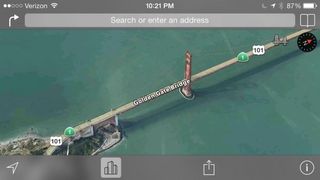
Apple took a lot of flack for its first attempt at a maps app, when it released iOS 6. Things were so bad, Tim Cook even issued a mea culpa. So much is expected of the updated release of the Maps app in iOS 7. Similar to many of the company's other native mobile apps, Maps gets a refresh that will offer users a cleaner interface, full screen navigation and even an automatically-activated night mode that reverses the text so its white on dark background. Some of the previously useful features remain, including integrated Yelp reviews, 3D maps and spoken turn-by-turn directions. But there's plenty of new features to learn how to use.
MORE: Apple iOS 7 Full Review
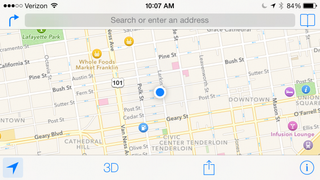
When you first open Maps, you're shown an overhead view of your current location. While the top of the display is the same as in iOS 6, with a button to plan a route, search bar, and bookmarks, the bottom controls are slightly different. Now, a white bar runs the length of the bottom, with options to center yourself, turn on 3D maps and share your location.
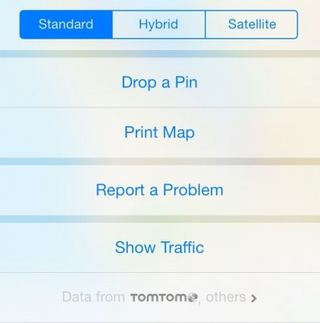
1. Press the i button to switch map views (Standard, Hybrid and Satellite), show traffic, drop a pin and report a problem. Previously you had to press the upturned corner in the lower right, which peeled back the map.
2. Press anywhere on the map to enter full screen view. This will hide the bars at the top and bottom. Press anywhere on the screen to bring back the menu bars.

3. Select 3D to use the 3D view; this will tilt the map slightly, and, when you've zoomed in far enough, will show 3D renderings of buildings.

4. Plan a route by pressing either the right turn icon or the search bar at the top of the screen.
Stay in the know with Laptop Mag
Get our in-depth reviews, helpful tips, great deals, and the biggest news stories delivered to your inbox.
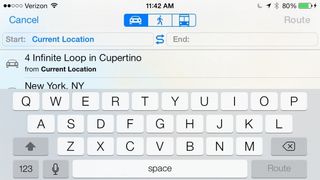
5. Enter the Start and End addresses. Instead of manually entering a starting location, you can simply choose Use Current Location. By default, Maps will provide you driving directions, but you can also select Walking or Public Transit directions, although the latter is largely unhelpful; the Maps app will redirect you to public transit apps in the iTunes store.
6. Select the route you wish to take. Depending on your destination, Maps may offer several different routes, and will give the estimated length of time for each. Simply press the desired route.
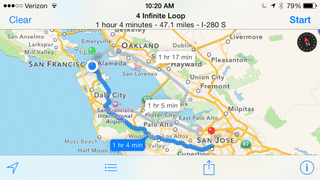
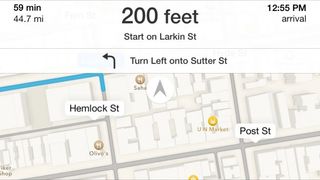
7. Press Start to commence navigation. At the top of the screen, the distance to the next turn is the most prominent number; below that is the direction of the turn, as well as the street onto which you're going to turn. At the top of the screen, Maps shows the estimated length of the trip in hours, distance and expected arrival time.
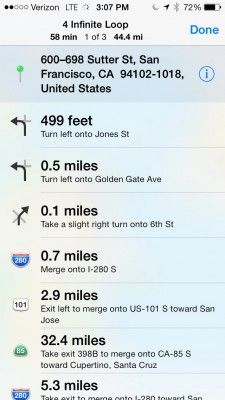
8. Press the three bars at the bottom of the screen to switch from a map-based view to turn-by-turn directions.
9. View Yelp information on a location by pressing its icon on the map. This will produce the tag above, showing its average rating on Yelp, and the amount of time it will take to get there by car.
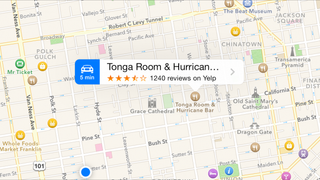
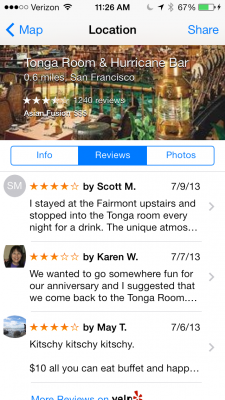
10. Press the tag to view even more detailed information, such as contact info and review capsules and photos from Yelp. Here, you can also get directions to the location, share it with others or add it as a contact.
Hopefully, Apple will add public transit, such as subways, buses and rail lines in the near future.
