How to Capture a Video Screenshot in Android 4.4 KitKat
The ability to natively take a screenshot on your Android phone was first introduced in Android 4.0 Ice Cream Sandwich. To date, users have only been able to record still images of their devices, but new functionality built into Android 4.4 KitKat lets you record video screen shots.
KitKat's Screen Record function is targeted to developers as a way to record how their app works to create promotional or training videos. Instead of pressing a combination of on-device buttons to capture a screenshot, Screen Record requires the use of the Android Software Development Kit (SDK) and a few Command Prompt commands in order to capture a video recording of your Android device.
Here's how to get started with the Android SDK and start performing screen recordings on Android using a Windows PC.
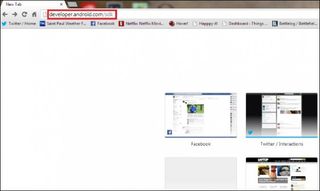
1. Navigate to developer.android.com/sdk on your Windows PC.
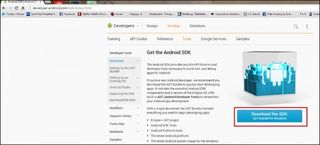
2. Click Download the SDK and ADT Bundle for Windows.
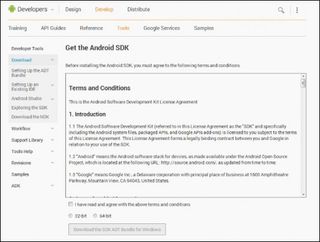
3. Choose the 32- or 64-bit version of the software bundle, accept the terms and conditions, then click Download the SDK ADT Bundle for Windows again.
MORE: 25 Best Android Apps
Stay in the know with Laptop Mag
Get our in-depth reviews, helpful tips, great deals, and the biggest news stories delivered to your inbox.
4. Locate the file in your file directory.

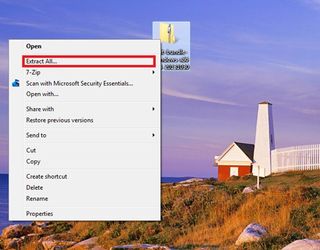
5. Extract the Zip file to a folder on your desktop. You can realistically put this folder anywhere you choose, but you’ll need to find it in the Command Prompt later when it comes time to execute adb commands.
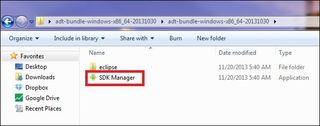
6. Click on SDK Manager in the adt-bundle-windows-x86_64-date folder.
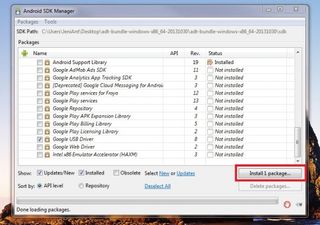
7. Click the Install 1 Package Button. This will install the Google USB driver so you can connect your Android phone to your computer to execute ADB commands.
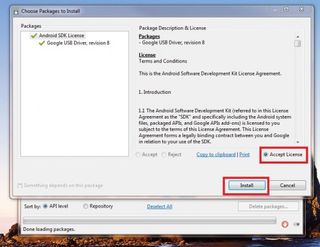
8. Click Accept License, then Install.
9. Tap Settings on your phone to enter the settings menu.
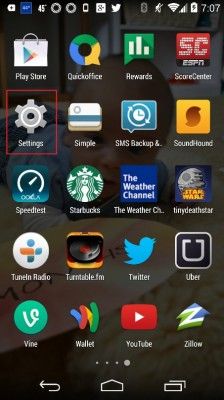
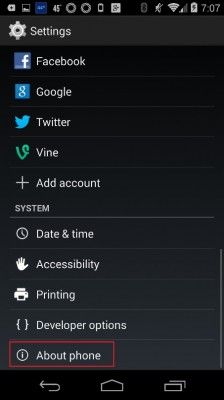
10. Tap About Phone under the System settings subsection.
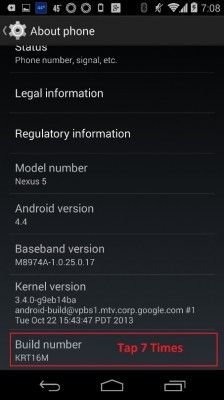
11. Tap Build Number 7 times to unlock developer mode on the Nexus 5. This sounds silly, but it’s needed to enable developer mode so which allows you to enable USB debugging in the next step.
12. Navigate back to the main Settings menu.
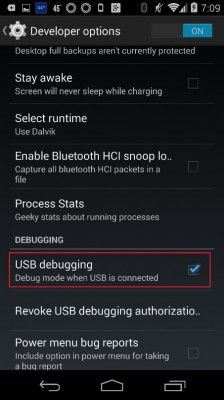
13. Tap Developer Options.
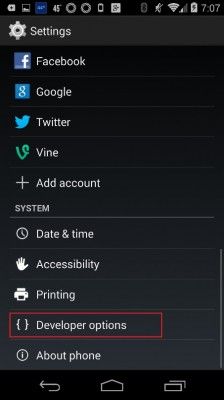
14. Enable USB Debugging. Tap the checkbox to enable USB debugging on your device. You’ll need this enabled to issue adb commands.
15. Plug your phone into your PC. Your computer will automatically install the Google USB driver so you can connect with it via ADB.
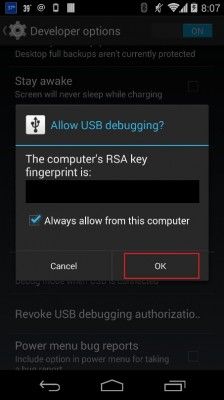
16. Click OK in the pop-up menu that appears on your phone. This authorizes your computer to enter adb mode.
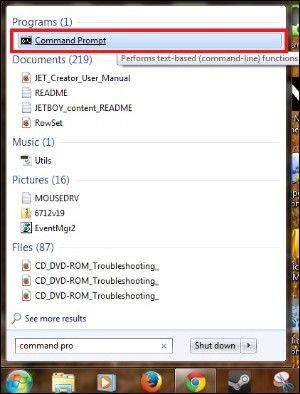
17. Open the Command Prompt.
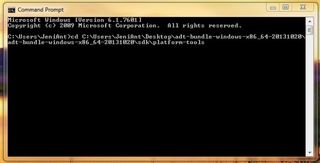
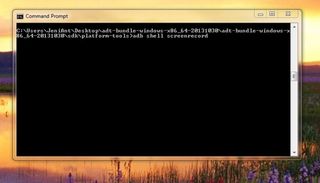
18. Navigate to the Platform-Tools directory in the Android SDK file you placed on your desktop. This can be accomplished with the following command:
cd C:\Users\%Username\Desktop\adt-bundle-windows-x86_64-20131030\adt-bundle-windows-x86_64-20131030\sdk\platform-tools
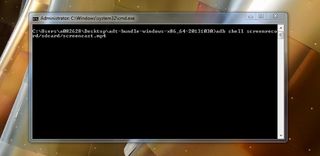
19. Type “adb shell screenrecord /sdcard/filename.mp4” You’ll need to enter a file location and filename and add ".mp4" to execute this command. This will begin recording your device’s screen, and your file will be saved to the indicated location once completedad. By default, the length of the recording is set to 3 minutes, though this and other features can be changed by adding onto your command. You can find an exhaustive list of add-on commands at Google’s Developer website.
20. Locate the recording on your device using a file management program like the ASTRO File Manager. You can share your screencast by uploading to YouTube, Google+ or via several other of Android’s native sharing solutions or open it to view in the media player.
